
Before you can use the HttpGemini plugin to bring powerful AI features to your Unreal Engine project, you need to get a Gemini API Key from Google. This quick, step-by-step guide will show you exactly how to generate your free key.
Navigate to Google AI Studio
First, go to the Google AI Studio website. If you see an introductory pop-up, simply close it to continue.

Create a New API Key
In the main dashboard, find and click the “Create API key” button, located in the top right corner.

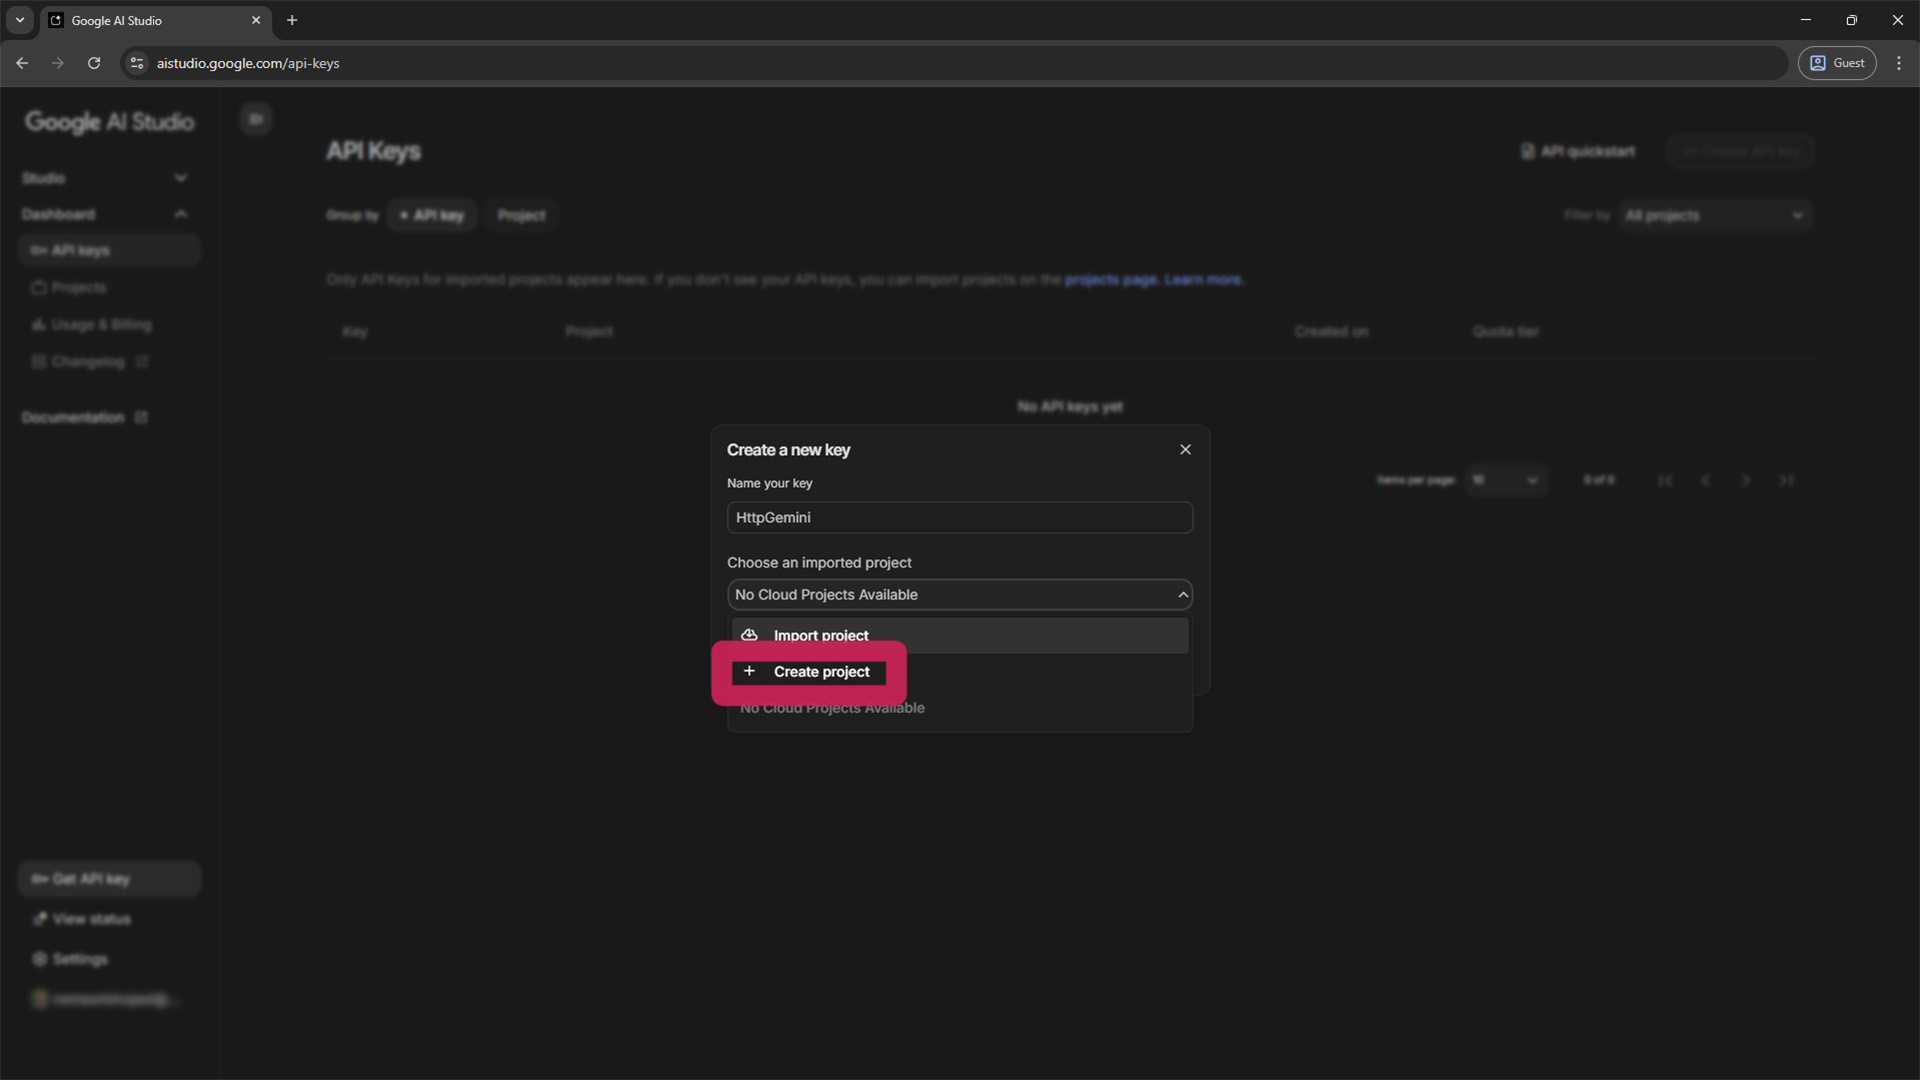
Create a New Project
An API key must be associated with a project. In the dialog that appears, click on the “+ Create project” option.
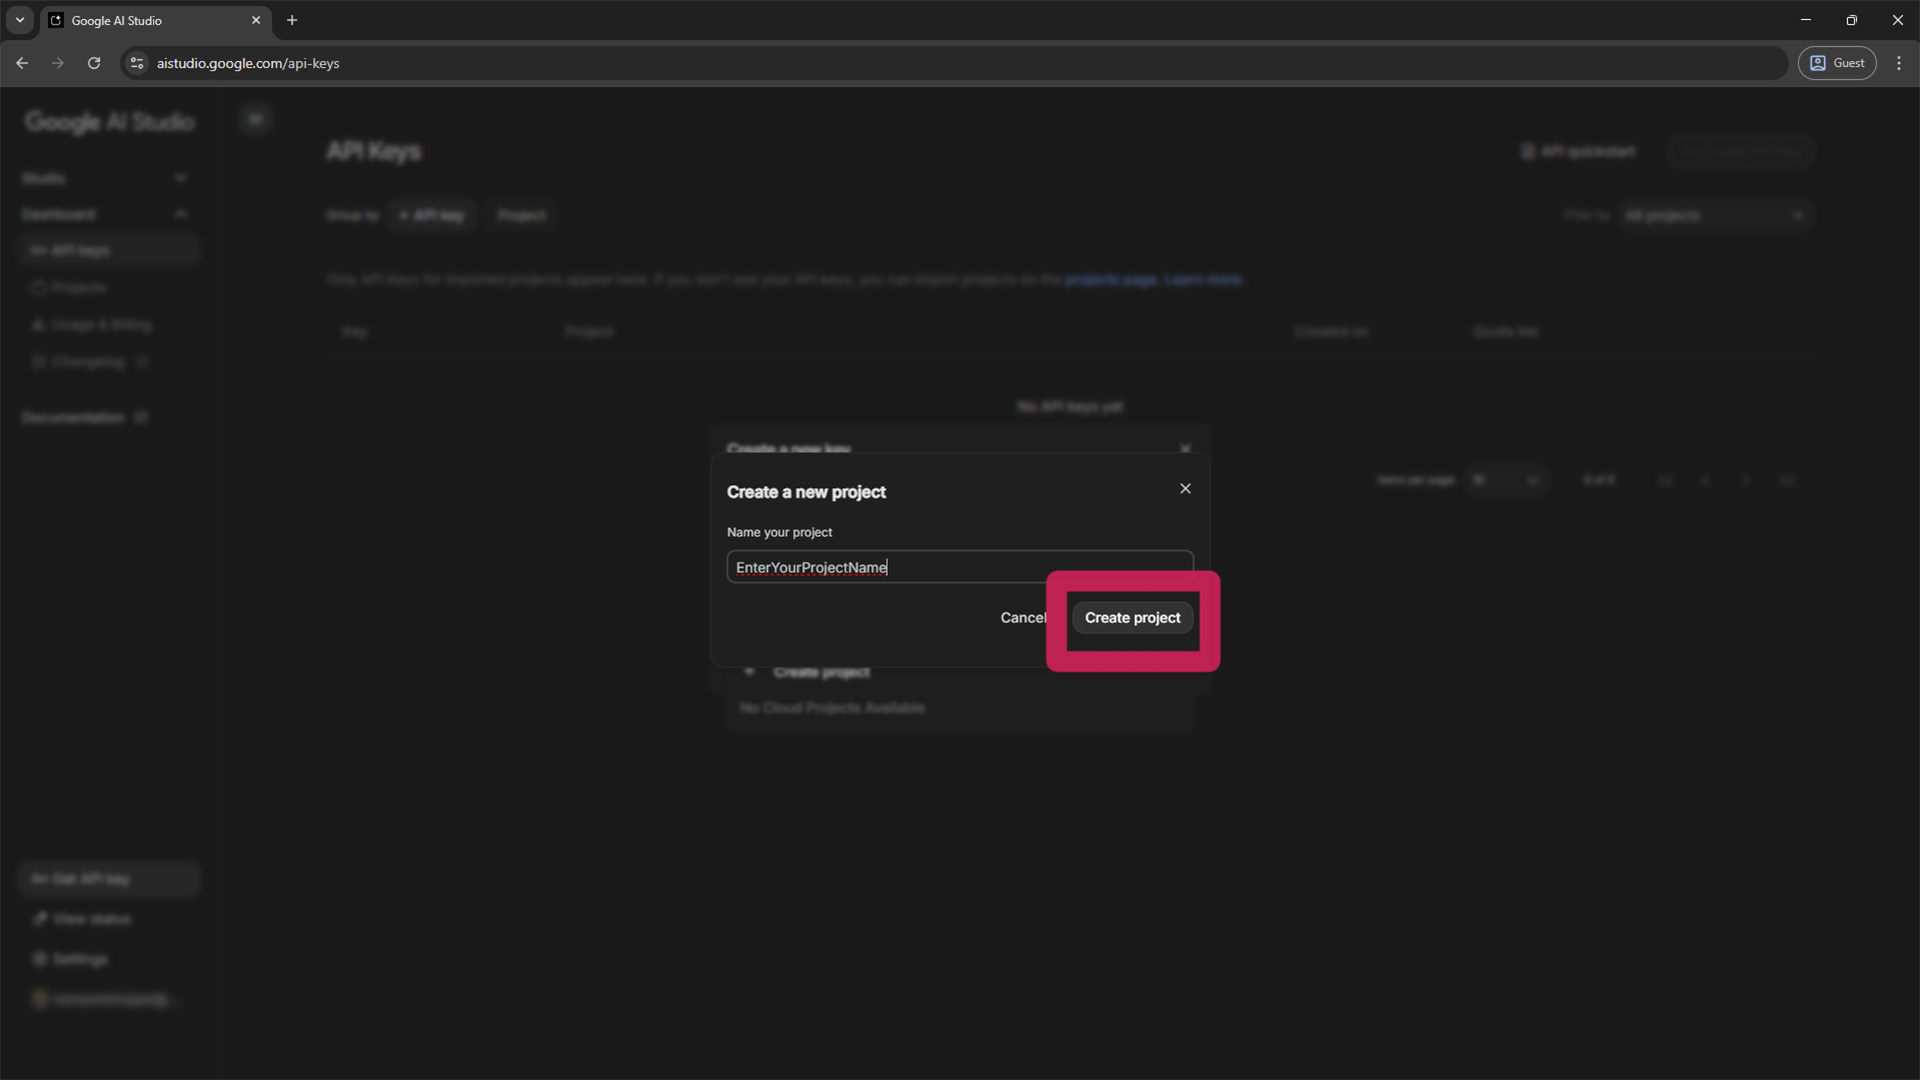
Name Your Project
Give your new project a descriptive name. This helps you organize your keys later. For example, MyUnrealAIProject. Then, click “Create project”.
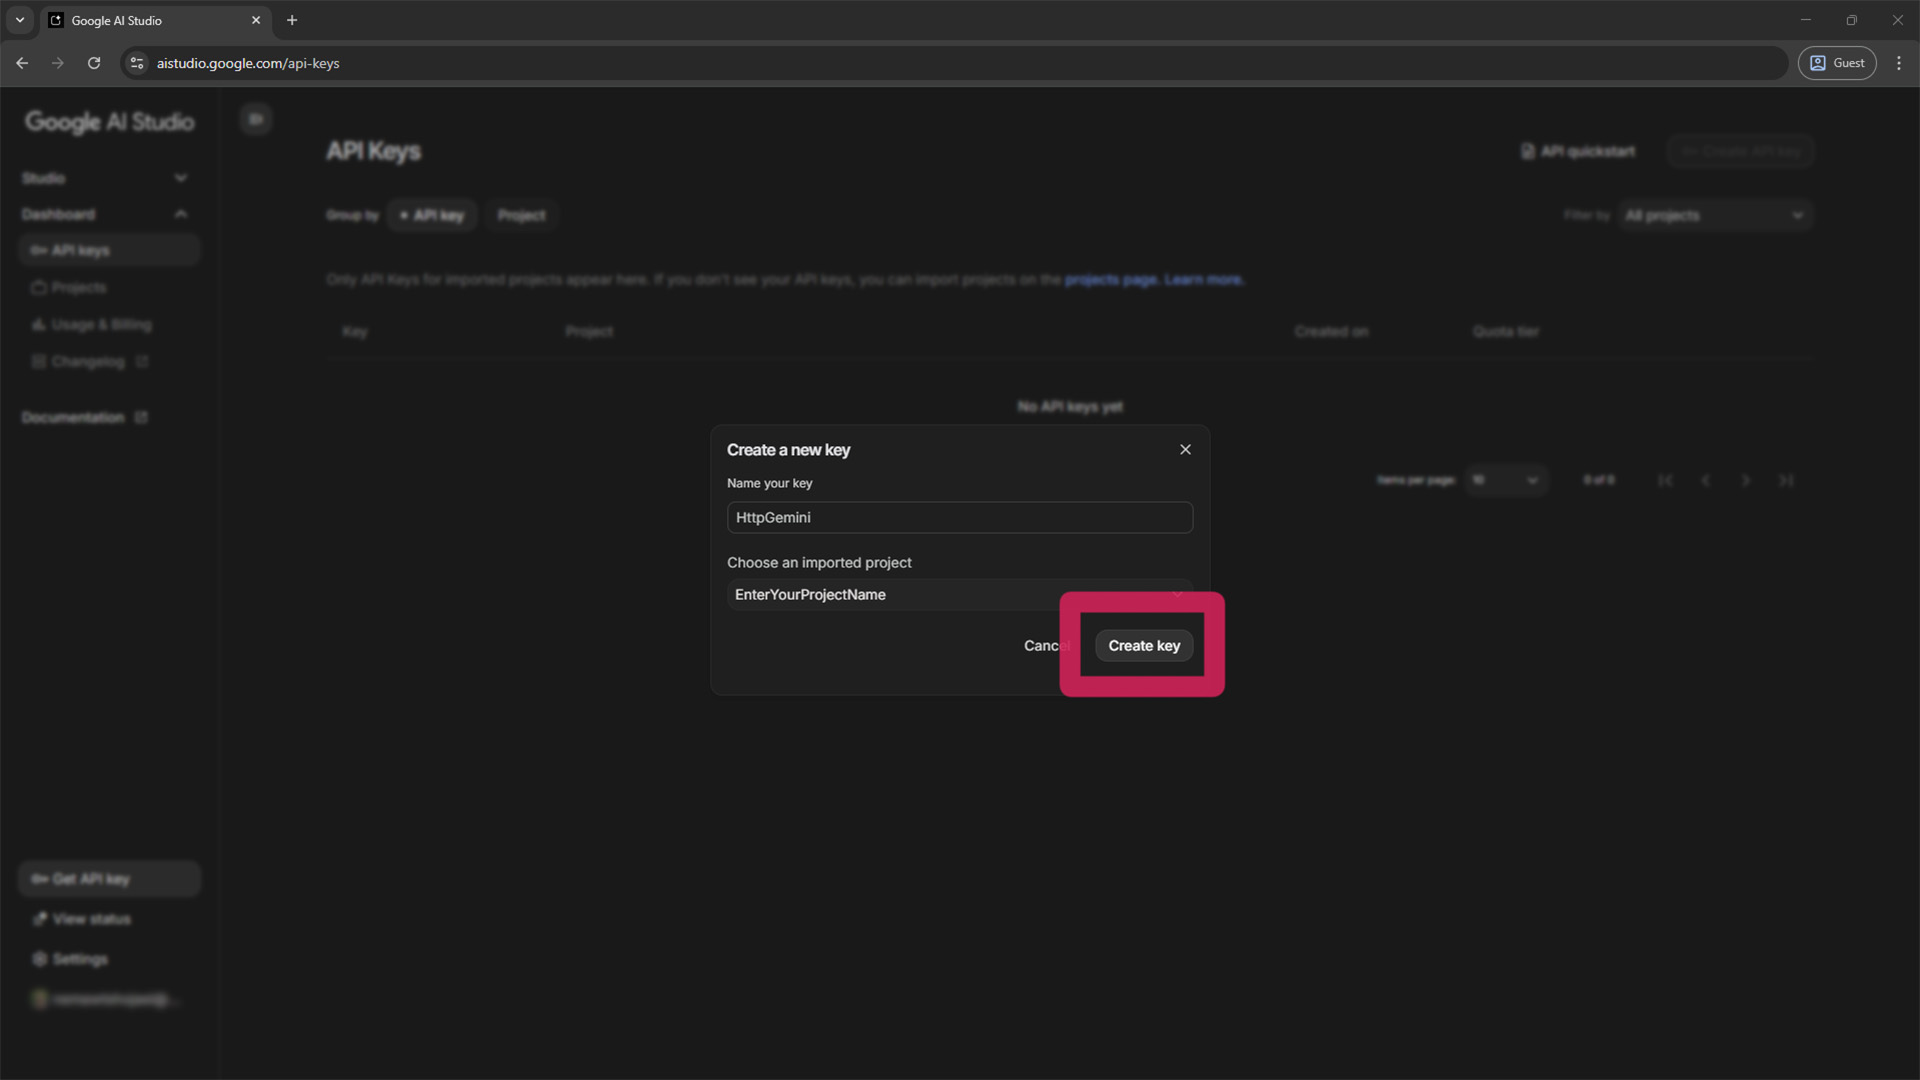
Generate the Key
After your project is created and selected, you can give your key a name (e.g., HttpGeminiKey). Finally, click the “Create key” button to generate your unique API key.
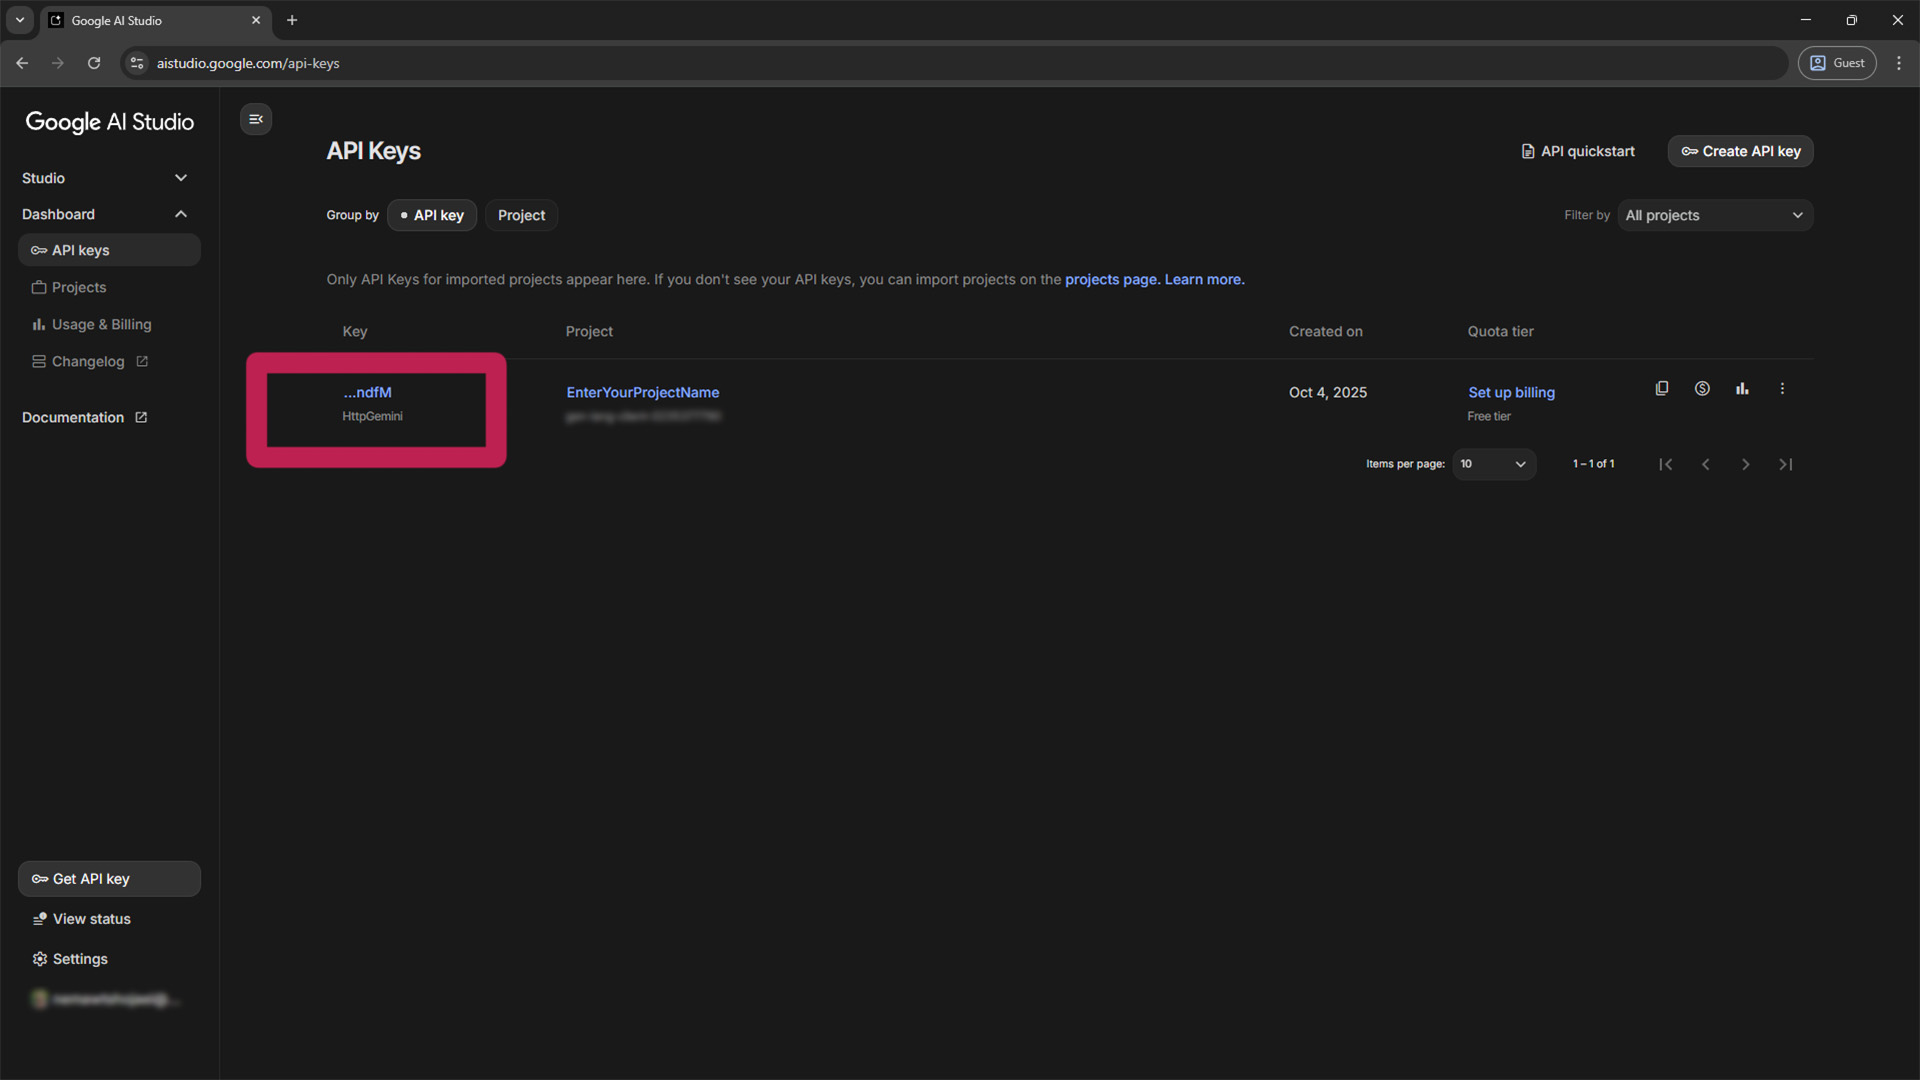
View Your New Key
Success! Your new key will now appear in your API Keys dashboard. This confirms that the key has been successfully created.
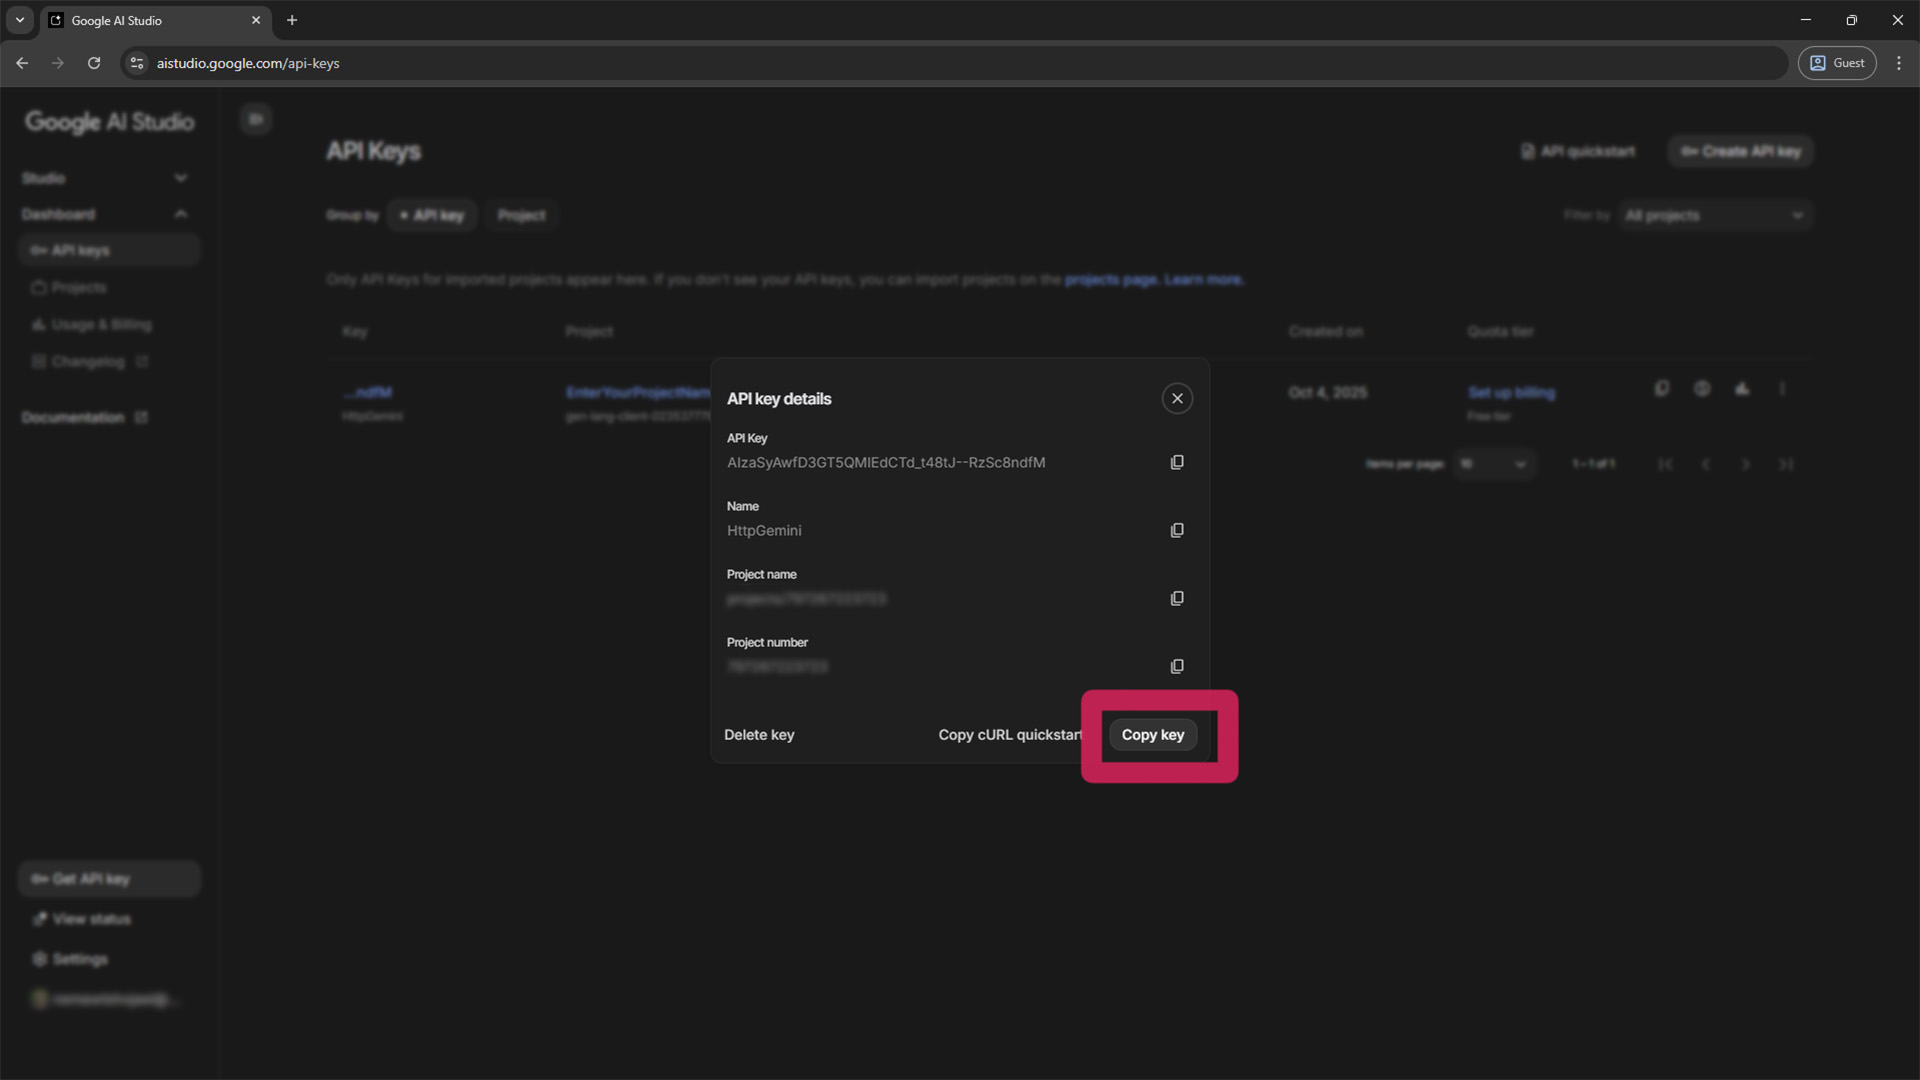
Copy the API Key
Click on the key to see its details. In the pop-up window, click the “Copy key” button to copy the full key to your clipboard.
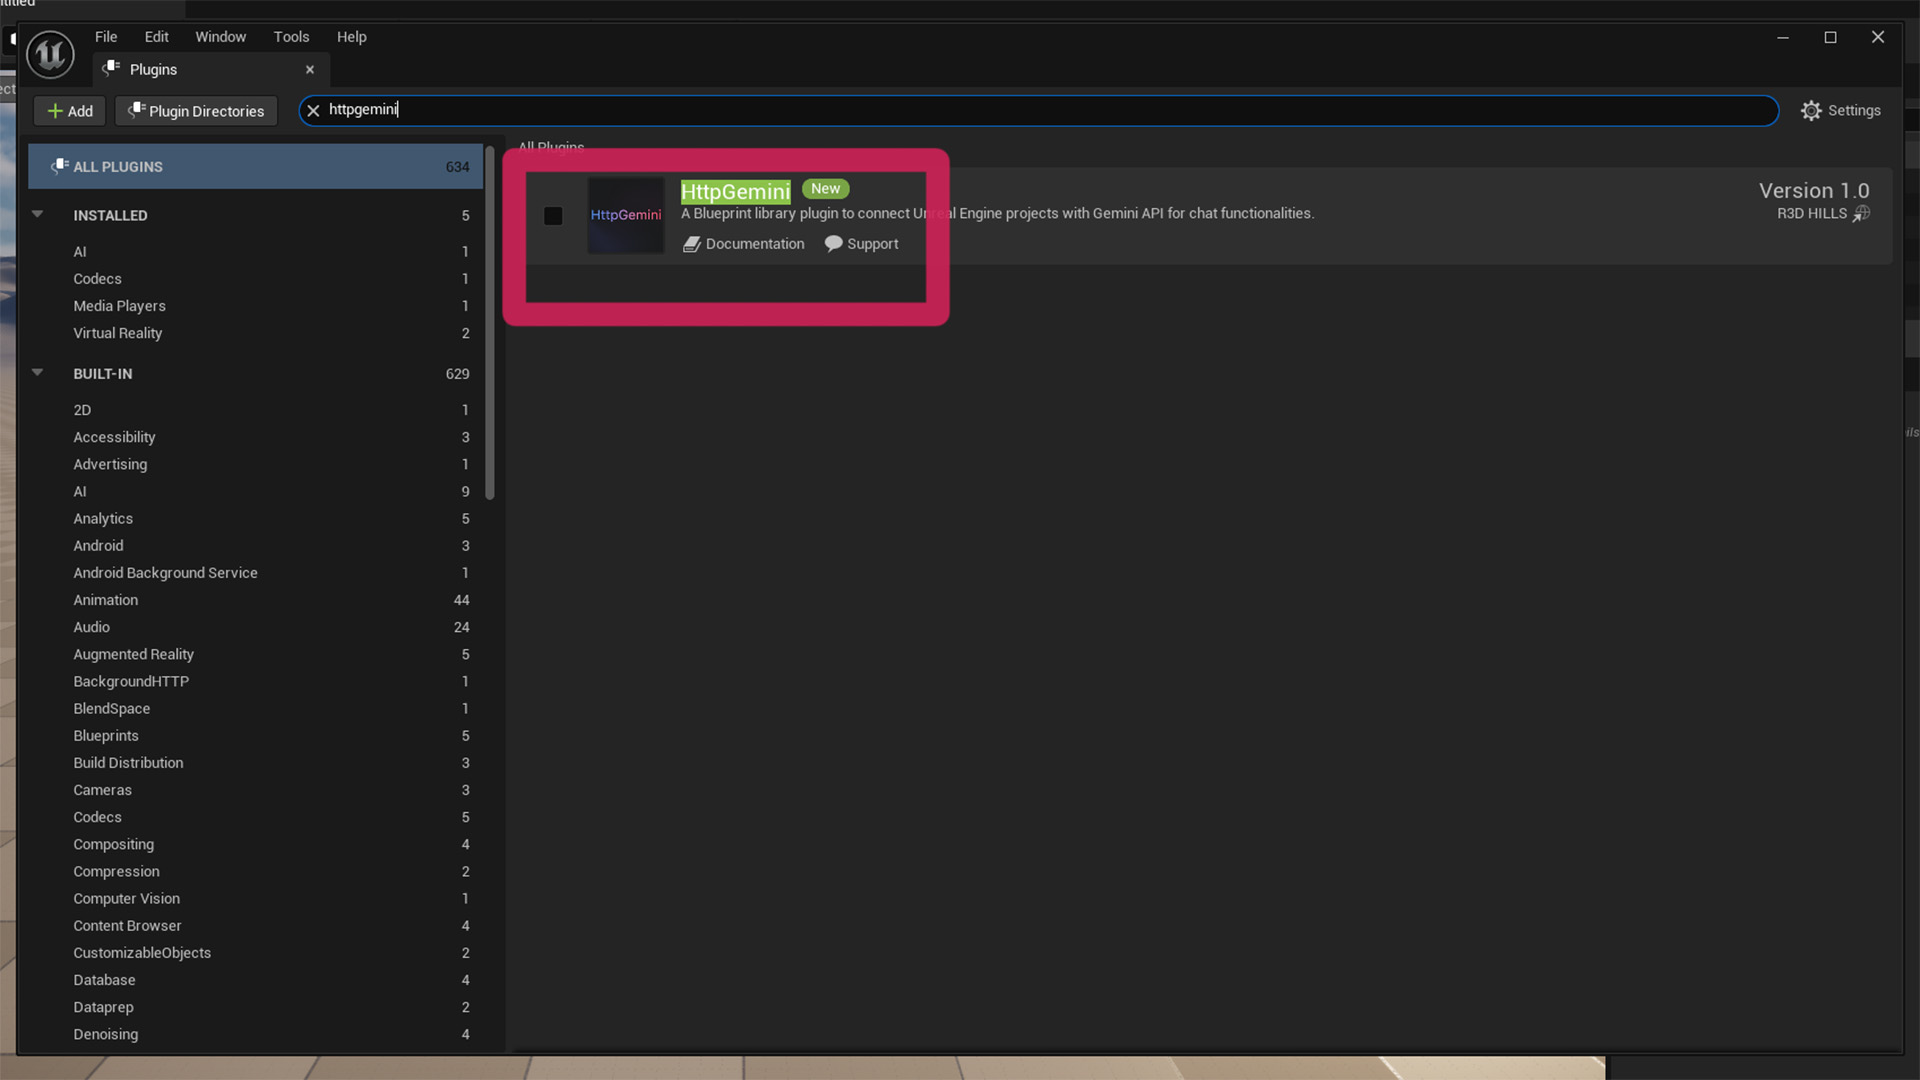
Enable the Plugin in Unreal Engine
Open your Unreal Engine project and navigate to Edit > Plugins. Search for “HttpGemini” and make sure the “Enabled” checkbox is ticked.
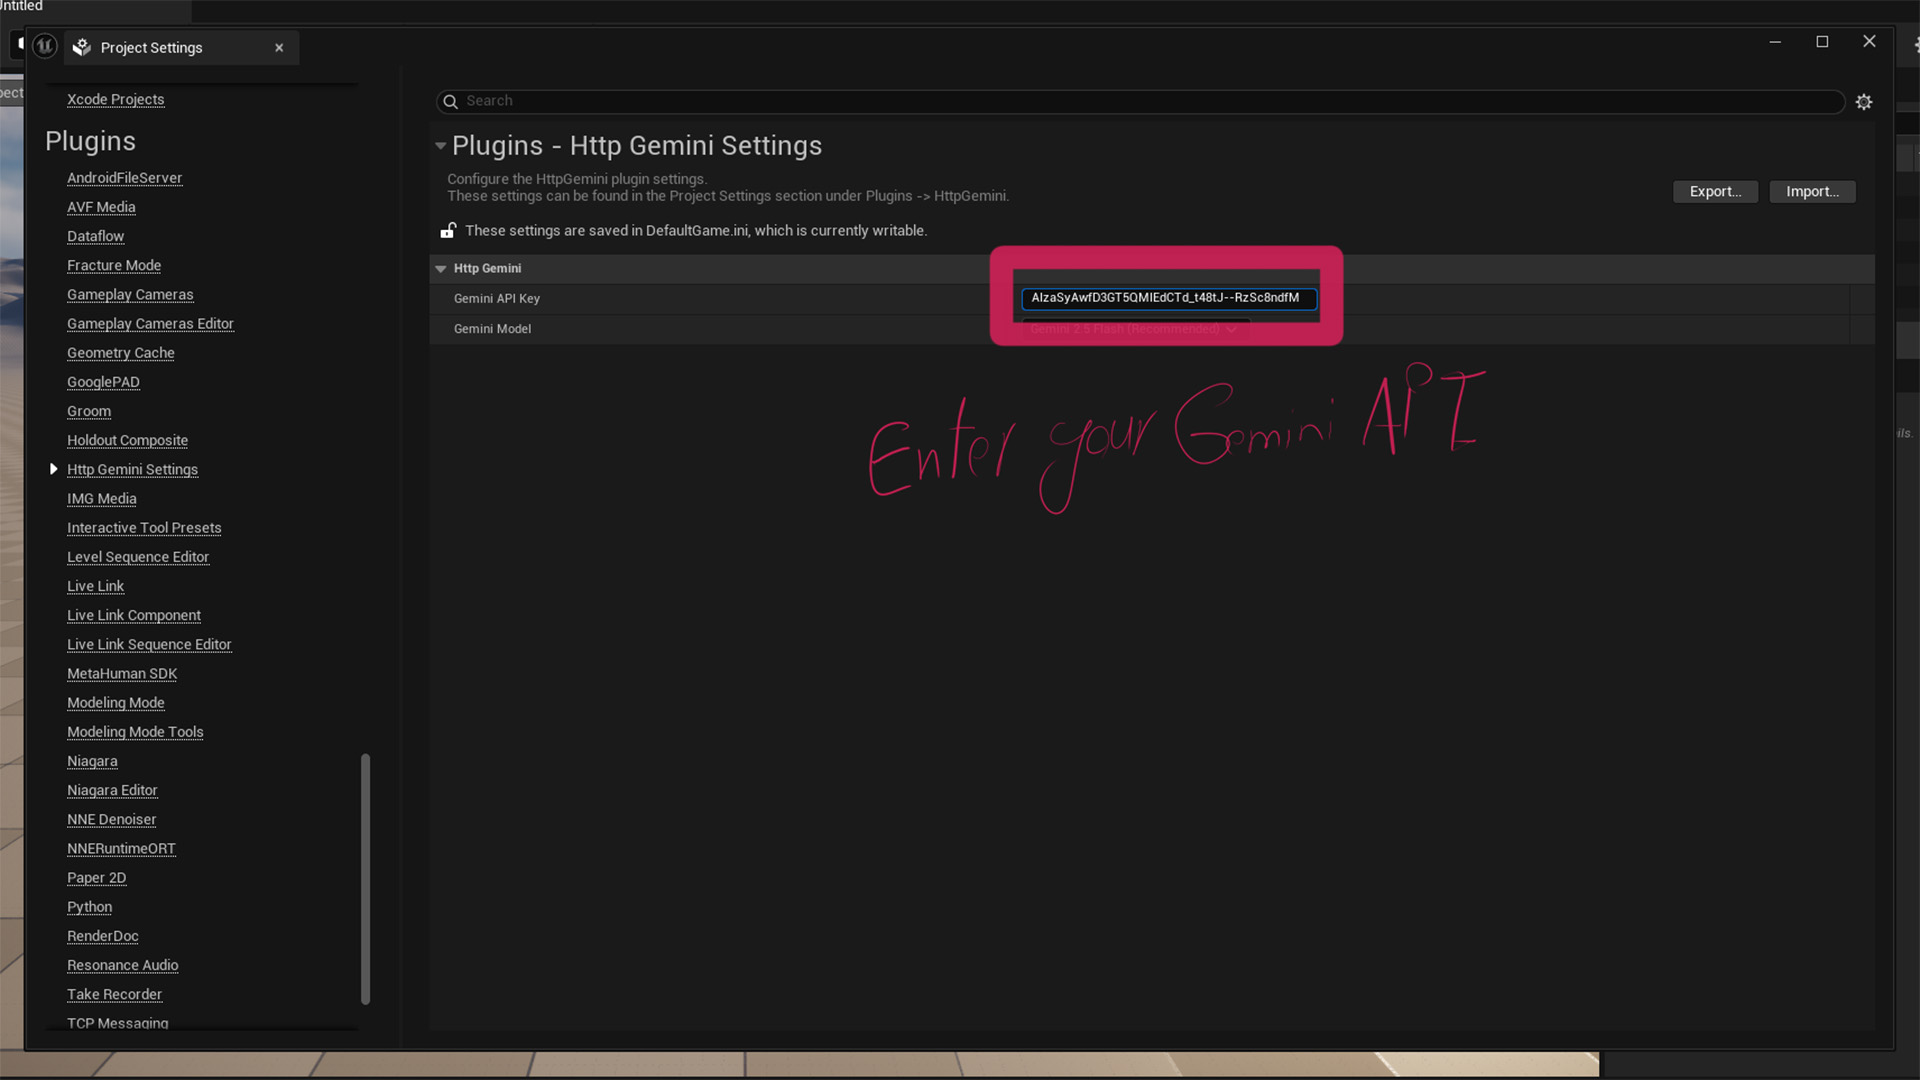
Configure the Plugin
The final step! Go to Project Settings > Plugins > HttpGemini. Paste your copied API key into the “Gemini API Key” field.
You’re All Set!
Congratulations! Your project is now connected to Google’s Gemini AI. You can start using the “Send Chat Message (Gemini)” Blueprint node to bring your ideas to life.
Learn More About HttpGemini